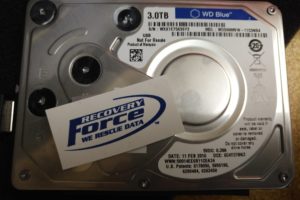
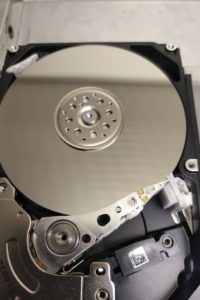
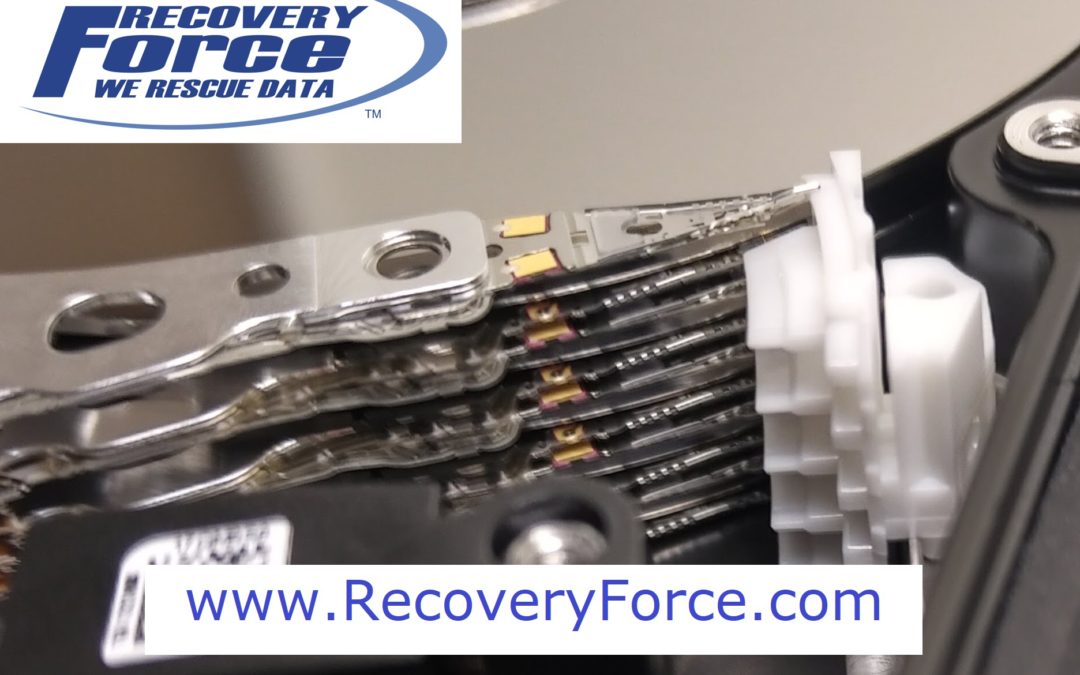
Today, we received a dropped 3 TB Western Digital My Passport hard drive. It was reported the the drive had a very small drop, which was enough to get the heads, all 10 of them, stuck between the platters and the parking ramp. Yes, you heard me correctly, 10 heads.

The first step in such a recovery is to get the heads off the platters and back onto the parking ramp without causing any extra damage to the platters and heads. This process is not as simple is shown on most DIY YouTube videos found online, especially when we are dealing with 10 heads and 5 platters in a 2.5″ hard drive.
After the heads are safely off the platters, they are closely inspected in our clean room to determine whether or not they are damaged or safe to be tried. If they are damaged, we quote the client for our major data recovery service and the cost of the parts, which is pretty pricey with this particular model of drive. But, in this case, the heads tested good, so we close it all up and move onto the next stage to see if we can get the drive to identify and read on our recovery systems.
In most My Passport data recovery cases, we usually need to go through a procedure where we save the ROM from the USB 3 PCB and use it to reprogram a donor SATA PCB which will make it a lot easier for our team to interface with the drive’s firmware, which usually requires a few tweaks to stabilize the drive, get it to ID and to read. But, in this case, we were fortunate enough that the drive spins up and IDs through its native USB PCB on our data recovery imager.

Once on the imager, we would normally do a procedure which calculates which head reads which sectors (a headmap) so that when we image and encounter read errors, we can determine if the issues are specific to a single head or multiple heads. We even have the ability to control our imager to skip any sectors associated with a particular head that we feel may not be stable or not reading at all so that we can focus our efforts on reading the sectors we can. Again, in this particular case, due to the model of drive, we are unable to generate a headmap in our imager, but with an initial scan, we can be sure that all the heads read and we tweak our imaging settings to allow for the fastest speeds, stability and skipping areas with bad sectors.
Now that we have our imaging process set, we move on to try and load the main file tables, in this case, the HFS+ catalog. We image the sectors where the catalog file is stored and take note if there are any unreadable sectors within which would determine if we will get a clean file structure in our recovery. After getting a clean file structure, we then can determine how much data is on the drive and then set our imager to image only the sectors on the drive which are marked by the file system, or just the specific files and folders a client wishes recovered, if their request is a small subset of what is on the drive. With external drives, it is rare that the client wants anything less than everything on the drive.

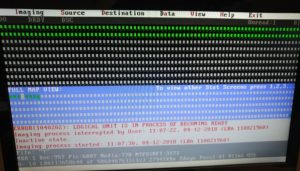
The imaging process will run through a couple passes, at the very least, usually a few more as the tech adjusts the settings to dig down into the skipped areas where bad sectors were encountered with less invasive primary passes. Sometimes it can take a couple hours to read 98% of the sectors and a couple weeks to clean up and fill in the holes. It really just depends on the overall condition of the drive. We actually have a technician whose primary function is to monitor and babysit multiple imaging systems to make sure that a drive that turns for the worse doesn’t do so without being noticed and responded to very quickly.
After we get a good clone of the drive, our team will then recover the data from the clone to the destination media. In most cases, the file system is quite clean and we are able to simply use our software to transfer the from the clone to the destination drive. But, if the file system is damaged with bad sectors, we will need to then run a full scan of the clone with our data recovery software so that we can do our best to reconstruct the file system and find any lost files which are usually saved in a RAW file format.
And, when everything is recovered out, we are usually able to generate a file listing for our clients to review, not only showing the files that were recovered, but showing which files are 100% there without any bad sectors and the damaged files which have at least one unreadable sector, which usually results in a damaged file that is unusable. In this case, we are still imaging the drive, with only 3 unread sectors. But, with a setting to skip 10,000,000 sectors for each skip, we have at least 30,000,000 sectors to go back and clean up in secondary passes. With that in mind, we do have a full clean file structure, so we should have a pretty clean recovery, likely over 99%. That will just depend on how things go over the next day or two of imaging.
Short of any surprises from here, this project will be done at our minor recovery rate of $350 and should be complete within a few business days of receiving the drive.
Have a data loss situation?
Call Recovery Force
Quoted insanely high prices by the professional sales and marketing team of other labs?
Call Recovery Force
